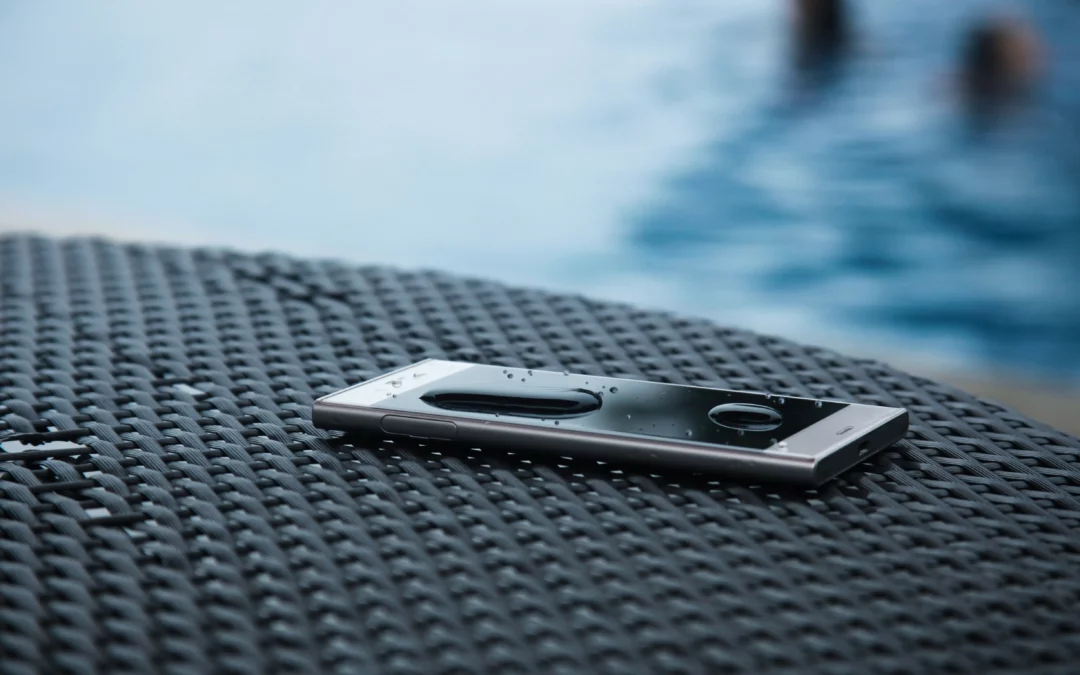
Accidents involving the immersion of your phone in water are unfortunately quite common, but how you react in crucial moments can make all the difference. In this article, we’ll provide you with a comprehensive step-by-step guide to help you rescue your phone after an unexpected immersion.
Imagine this: your phone accidentally slips into water, whether in the toilet, a sink or a puddle. Panic sets in, but don’t despair. By carefully following these steps, you maximize your chances of minimizing damage and saving your faithful electronic companion.
Step 1: Immediately remove the phone from the water
Timing is everything. The sooner you remove your phone from the water, the better your chances of minimizing damage. Switch it off immediately, and do not try to switch it on again to avoid a potential short-circuit.
Step 2: Remove the battery (if possible) or switch it off quickly
If your phone has a removable battery, remove it as soon as possible. This will help avoid potential short-circuits and preserve internal components. Many modern phones have non-removable batteries. In this case, switch off your phone as quickly as possible, following the procedure specific to your model.
To switch off a phone without a removable battery, hold down the power button until the screen goes blank. Make sure you switch off the phone before removing the battery, to avoid any risk of electric shock.
This crucial step prevents the flow of electricity into the device, thus protecting the internal circuits from any potential damage caused by water.
Step 3: Gently dry the phone with a clean towel
Gently blot excess water with a clean towel. Avoid shaking the phone, as this could spread water inside the device.
Step 4: Remove SIM and external memory cards
Remove all SIM cards and external memory cards from your phone. This will protect these components and facilitate the drying process.
Step 5: Use a gentle drying method
Place your phone in a bowl of uncooked rice or use silica gel sachets. These substances absorb moisture. Leave the phone in this environment for at least 24 to 48 hours.
Step 6: Avoid using direct heat
Although the use of heat can speed up the drying process, it’s best to avoid direct heat sources such as hairdryers. Excessive heat can damage internal components.
Step 7: Test your phone
After following these steps, insert the battery and switch on your phone. If all goes well, congratulations! If not, it’s time to call in the professionals.
Additional steps for phones without removable batteries
For phones without removable batteries, follow these additional steps:
Step 8: Vacuum moisture with a low-power vacuum cleaner
Use a low-powered vacuum cleaner to gently vacuum moisture from charging ports, buttons and other openings on the phone. Make sure the vacuum cleaner is set to minimum power to avoid damaging fragile internal components.
This step removes any residual moisture that may have lodged in hard-to-reach places. This operation must be carried out with care to avoid further damage.
Step 9: Use a drying agent
Place the phone in a bag with a desiccant, such as silica gel beads. This will help remove any residual moisture that may remain even after the initial drying process.
Desiccants are particularly effective at absorbing moisture. Just make sure the phone is completely surrounded by the desiccant in the bag and leave it to work for at least 24 hours.
Additional tips for preventing water damage
Prevention remains the key to avoiding stressful accidental immersion scenarios. Here are a few more tips to protect your phone from water damage:
1. Quality waterproof cases
Invest in a high-quality waterproof case for your phone. These cases provide a protective barrier that keeps water out, even in situations of temporary submersion. Make sure you choose a case compatible with your phone model for maximum protection.
2. Avoid high-risk areas
Avoid using your phone in areas where it could be exposed to liquids, such as near swimming pools, bathtubs or cooking areas. Be aware of your surroundings to minimize the risk of accidental immersion.
3. Raising awareness of risk situations
Be aware of potential risk situations, such as water sports or rainy days. In these situations, take extra precautions to protect your phone, even if it has water-resistant features.
4. Carry out regular checks
Regularly check the condition of your phone, especially the seals and ports. If you notice any signs of wear or damage, consider having defective components replaced to maintain sealing integrity.
In conclusion, quick reaction and the right steps are crucial to saving your phone after an immersion. However, prevention remains the best remedy. Invest in waterproof cases, follow prevention advice and avoid potentially risky situations for your phone.
Despite your best efforts, if your phone doesn’t work properly after immersion, don’t take any further risks with DIY solutions. Opt instead for Univer Phone’s reliable, professional solution to restore your device to its optimum condition. Contact us today for quality repair services.